HOW TO SET UP A LANTERN
A short explanation on how to set up a buried type stone lantern by yourself or by your garden maker - just in case. Be careful not to hurt your back because it is really heavy.
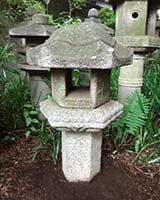
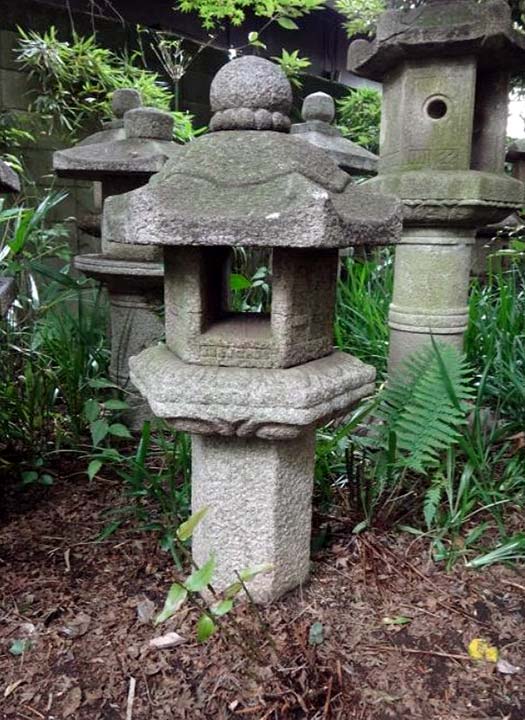
photo (top) : 'Oribe' style buried lantern, 140cm. 'Kitagiishi' granite, from Okayama
-
STEP 0
preparation
You will need a shovel, a level and protective clothing. Approximate time required: about 1 - 2 hours. The dimensions and weight shown below are for this particular Toro used as an example. Actual dimensions may vary.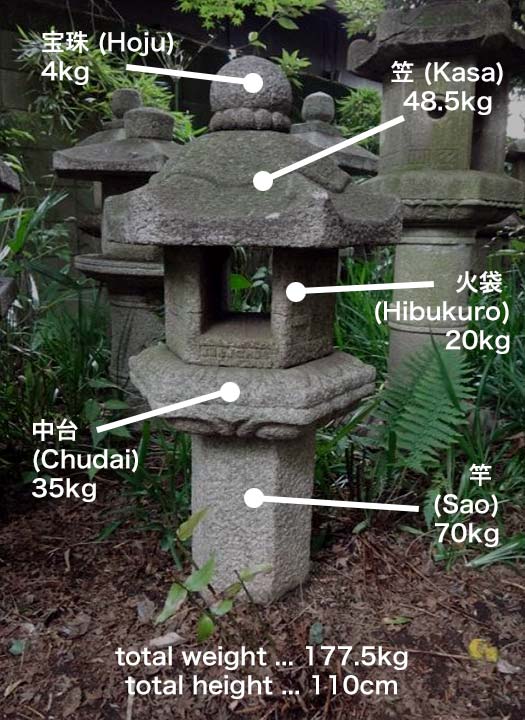
-
STEP 1
Dig a hole
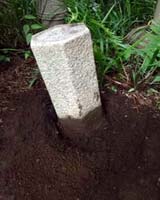
Dig a hole slightly larger than the diameter of the 'sao' (=post). 1 foot (30cm) deep is sufficient for this tôrô.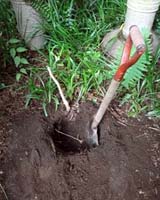
-
STEP 2
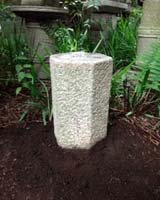
Set 'Sao'
Place the "sao" in the hole and lightly tamp down the soil around it with a stick. Make sure the 'sao stands upright.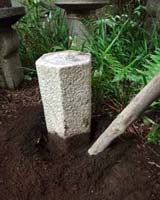
-
STEP 3
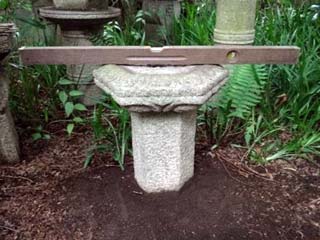
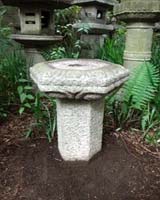
Place 'Chudai'
Place the chudai platform on top of the sao. Make sure it is level from front to back and side to side using a spirit level.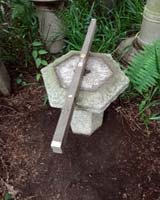
-
STEP 4
Firm the Soil
Firm the ground around the "sao" with the stick when you are sure the "chudai" is level.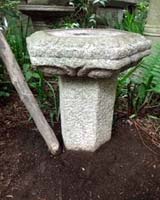
-
STEP 5
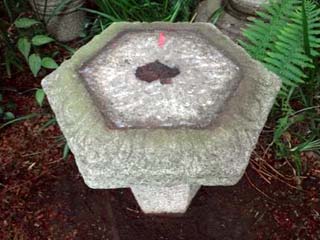
Position 'Hibukuro'
Position the 'hibukuro' (= fire box) on the 'chudai' so that the marks on both parts (roughly) match.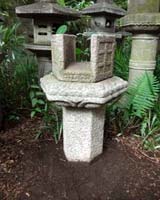
-
STEP 6
Position 'Kasa'
Position the 'kasa' (= shade) on the 'hiburuko' so that the marks on both parts (roughly) match.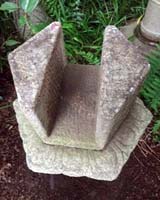
-
STEP 7
Position 'Hoju'
Position the 'hoju' (=jewel) on the 'kasa' so that the marks on both parts (roughly) match.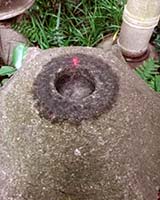
-
STEP 8
That's It!
OTHER QUESTIONS?
Our FAQ page is here.
